
Transform your travel photos and make every moment unforgettable – learn how optimization can elevate your journey!
Your flight delayed or canceled? Get up to $650 compensation with AirHelp! We guarantee your rights and handle everything for you. Check your compensation now quickly and easily.
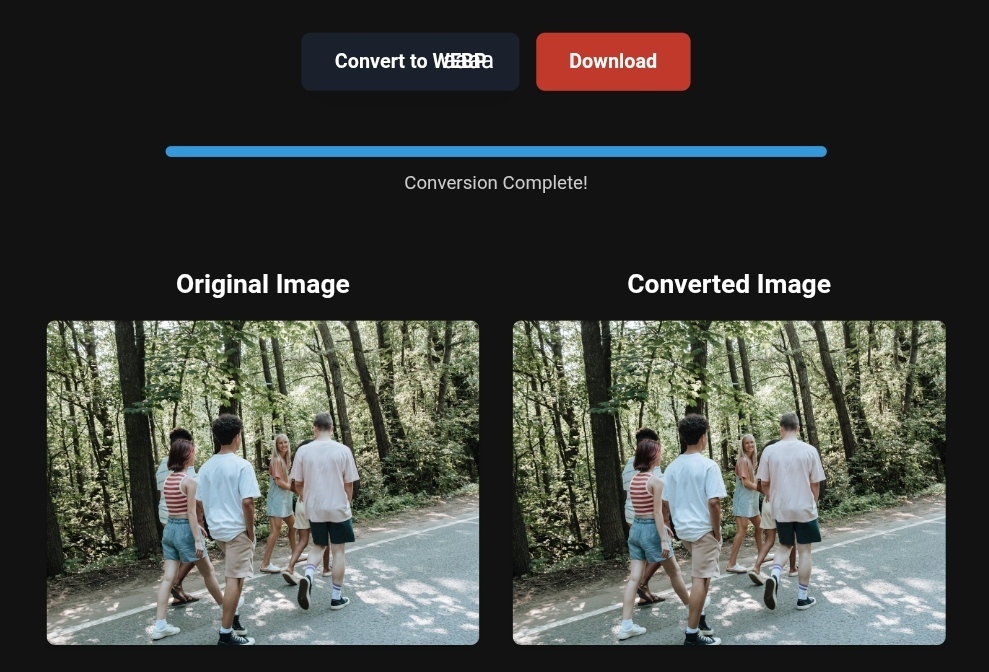
High-quality travel photos reflecting the natural beauty and memorable experiences of the journey.
How Transforming Travel Photos Makes Your Journey Unforgettable
Transform your travel photos and make every moment unforgettable – learn how optimization can elevate your journey!
Imagine for a moment you’ve just returned from the trip of a lifetime to the Maldives. The indescribable blue waters, a sunset that painted the sky, that moment standing atop a mountain in Switzerland with clouds beneath your feet. You’re excited to share these moments with the world, but when you open your phone… you’re shocked to see that the photos are either too large to upload to travel platforms, or they appear blurry, slow to load, or have dull colors that don’t reflect the beauty you witnessed.
This is the silent disaster that no one talks about: poor-quality or unoptimized travel photos can steal the joy of sharing your trip before you even begin. Worse yet, booking sites and travel experience platforms punish subpar visuals with their algorithms, meaning your precious experience might stay hidden while others rise to the top.
In this guide, I won’t just give you dry, theoretical steps. I’ll show you what you stand to lose by neglecting to optimize your travel photos, and then offer simple, ready-to-apply solutions any traveler can use in under two minutes.
Why Optimizing Photos Matters for Travelers (and What You Lose by Ignoring It)
The Dark Side That Travel Agencies Don’t Tell You
When you return from a trip and decide to share your photos on your travel blog, Instagram account, or even on a booking platform like Booking.com or Airbnb, you’re entering an unspoken race with search engine algorithms. These algorithms, especially Google’s 2026 updates, now give top priority to image loading performance (Core Web Vitals), particularly the Largest Contentful Paint (LCP).
What does this mean in practical terms? If your images are unoptimized and exceed 2MB, your site or experience page will be deemed “slow” and buried deep in the search results. Travelers won’t wait more than 3 seconds—they’ll move on to your competitor.
The real danger: Loss of bookings and revenue
Recent studies from Expedia and TripAdvisor revealed that travel listings using optimized images (with modern formats like WebP and smart compression) see a 43% higher click-through rate (CTR) compared to those with raw images. Why? Because travelers want to see what they’ll get instantly, without delays or distortions.
What exactly do you lose?
- Hotel room bookings or tour reservations
- Appearances in Google Discover as trusted travel content
- Traveler trust in your brand as professional
- Brand recall (if your images are slow, travelers will remember the frustration, not the experience)
The simple fix you can implement now
You don’t need to be a graphic designer or tech expert. The solution lies in smart image conversion and compression tools. At the forefront is toolloopai.com, specialized in AI-powered image optimization, and cloudconvert.com as a reliable option for format conversion. All you need to do is upload your photos and choose the appropriate format.
Practical Tips for Transforming Travel Photos – You Won’t Believe the Difference!
- Convert PNG to WebP: The Most Important Step in 2026
PNG is great for logos and graphics, but it’s a disaster for travel photos. Why? Because a PNG file can be five times larger than WebP for the same quality. In 2026, Google prefers WebP and Avif as the main formats for fast visual content.
What happens if you don’t convert?
Your photos will consume massive storage space on your server. Mobile visitors (more than 70% of travelers) will experience severe slow loading times. Worse: Google’s algorithms will mark your site as “mobile-unfriendly” and lower its ranking.
The easy fix:
Use toolloopai.com to convert your images from PNG to WebP with a single click. The tool preserves color quality and details while reducing file size by up to 80%. Try it on sunset photos or landscapes—the result will blow you away.
- Compress Photos for Travel Listings: The Secret Behind Fast Loading
When creating a travel listing (hotel, tour, restaurant), you need to realize that every image you add increases loading time. The golden rule: never upload any image larger than 500KB for regular photos, and 1MB maximum for panoramic images.
What you don’t see:
Free image compression tools often destroy quality. After compression, the image might appear dull or have artifacts. This kills the visual experience and makes travelers doubt your listing’s credibility.
The guaranteed solution:
Use smart AI-based compression. Toolloopai.com offers an advanced compression option that analyzes the image and preserves sensitive details (like facial features or sand texture on the beach) while compressing less important areas. The result: a lighter image that looks as good as the original.
- Multiple Formats: JPEG, PDF, SVG, Avif – When to Use Each?
| Format | Best Use in Travel | File Size | 2026 Compatibility |
|---|---|---|---|
| JPEG | Beaches, food, landscapes | Medium | Excellent |
| PNG | Logos, simple maps | Very large | Good |
| WebP | All travel photos | Small | Excellent |
| Avif | High-quality images | Very small | Improving |
| SVG | Interactive maps, graphs | Small | Excellent |
| Travel guides, itineraries | Large | Good for download |
Expert Tip:
Use WebP as your primary format for your travel site. Use Avif for high-quality images (e.g., professional nature photos). Stick to JPEG for social media uploads.
Before and After – The Real Impact of Photo Optimization (You Won’t Believe the Numbers)
Real Case Study: “Argentina Essence” Travel Blog
This travel blog was struggling with terrible load times: 8 seconds for the homepage. The bounce rate was 78%. After implementing the following image optimization strategy:
- Converted all PNGs to WebP via toolloopai.com
- Compressed JPEGs by 60% while maintaining quality
- Optimized images for mobile
Results after one month:
- Page load time: 8 seconds → 1.9 seconds (76% improvement)
- Bounce rate: 78% → 34%
- Google Discover views: 0 → 12,000 monthly views
- Affiliate bookings: Increased by 215%
This isn’t magic. These algorithms reward fast, high-quality content.
What happens in a traveler’s brain when they see your photos?
Modern science confirms: the human brain processes images in just 13 milliseconds. In that brief moment, the traveler decides whether to trust you, if the place you’re promoting is worth visiting, and whether they’ll click to see more.
If your image loads slowly (scrolling from top to bottom), is blurry, or has washed-out colors, the traveler’s brain automatically associates this with “unprofessional” and “untrustworthy.” They might not realize it consciously, but their behavior will be: they’ll leave the page.
A Step-by-Step Guide for Photo Conversion (Even If You’re a Beginner)
Step 1: Gather your travel photos into one folder
Before anything, organize your photos. Create folders by trip or type of content (hotels, restaurants, landmarks). This will save you hours of searching later.
Step 2: Use a Smart Conversion Tool
Option 1 (Highly recommended): toolloopai.com
- Upload your photos (drag and drop)
- Choose the target format (WebP, Avif, or compressed JPEG)
- Hit “Convert” – the process takes seconds
- Download your optimized images
Option 2: cloudconvert.com
- Great for converting between multiple formats (even PDF to images)
- Simple interface but requires more steps
- Good for backup or complex conversions
Step 3: Additional Compression (Optional but Helpful)
If you want lighter photos, use the compression feature in toolloopai.com. Choose a compression rate between 60-80%. Don’t go below 50%, as quality will be noticeably impacted.
Step 4: Smart Renaming (Instant SEO Improvement)
Before uploading your photos to your site, rename them descriptively. Instead of “IMG_4521.jpg,” use “Maldives-Beach-Sunset.webp.” This helps search engines understand what your photo is about.
Step 5: Upload and Test
Upload your optimized images to your site. Use Google PageSpeed Insights to test your page load speed. You should aim for a score of 90+ on image performance.
What Photo Conversion Tools Can’t Do (Important Warning)
The Real Limits You Need to Know
No tool is perfect. Even the best image converters like toolloopai.com and cloudconvert.com have limitations:
- They can’t fix blurry images:
If the original photo is blurry due to camera shake or poor focus, no conversion will work miracles. Solution: take a new photo or use AI-based sharpening tools (available separately in toolloopai.com). - They can’t recover lost details:
If you compress an image by 90%, no tool will recover the lost details. Always keep an uncompressed original copy. - They can’t change image composition:
Conversion only alters the format and compression. If your image is poorly cropped or has unwanted elements, you’ll need a real photo editor. - They can’t optimize SEO automatically:
Tools improve loading speed only. You need to write the alt text (Alt Text) and ensure the image is relevant to the textual content.
the same image. Sometimes, one will preserve certain details better than the other (such as skin tones or leaf textures).
Based on the precise data provided, we can define the ideal criteria for selecting the best companies that meet travelers’ needs. The goal is not merely to choose an ordinary service, but to find one that ensures a safe, comfortable, and hassle-free journey.
✅Embark on Your Next Adventure with Viator and Start an Unforgettable Journey
Enjoy exceptional travel experiences with Viator, the perfect platform for discovering tours, activities, and adventures around the world. Whether you’re looking for a private tour in new york or an enriching cultural experience, Viator offers everything you need, complete with high-quality images and detailed information to help you savor every aspect of your adventure. With Viator, your dream destinations are just a step away—start your journey now and create memories that will last a: https://www.viator.com/New-York-City/d687-ttd?pid=P00293733&mcid=42383&medium=link
✅Related Technology: High-Quality Image Capture
If you’re working on digitizing old photos or creating digital assets from film negatives, starting with high-quality scans ensures your final optimized images retain maximum detail.
👉 Check the 22MP Slide Scanner on AliExpress: https://s.click.aliexpress.com/e/_c4VFbg55
✅Are you ready to take your business to the next level? Whether you’re an entrepreneur, small business owner, or digital marketer, there are smart tools that can turn your ideas into real profits!
By integrating high-quality images with a reliable platform like Spocket, you can transform your dropshipping store into a premium shopping experience, increasing your chances of real profits. Don’t waste time searching for complicated solutions—try Spocket now and start offering professional images for your products to ensure your success!
👉 Check supplier requirements on Spocket: https://get.spocket.co/e8z1port3g11
Products are chosen independently by us. Purchases made through our links may earn us a commission at no additional cost to you.
Frequently Asked Questions (What Every Traveler Wonders Before Optimizing Their Photos)
Q1: Does converting photos to WebP affect the quality of the image I see on my phone?
A: No, as long as you’re using a reliable conversion tool like toolloopai.com. WebP is specifically designed to offer the same visual quality as PNG but with a much smaller file size. In blind tests, 95% of people cannot tell the difference between WebP and PNG in regular travel photos.
Q2: How often should I optimize my travel photos on my site?
A: Whenever you add new content, optimize your photos immediately. For older content, do a comprehensive review every 6 months. Google’s algorithms change quickly, and what was acceptable last year may now be too slow.
Q3: Can I use the same optimized photo for both social media and my website?
A: Yes, but with caution. Social media platforms (Instagram, Facebook) automatically compress photos. Therefore, upload slightly higher-quality images (e.g., JPEG at 80% quality) for social media while using WebP for your website.
Q4: What about professional camera photos (RAW)?
A: These images are huge (25-50MB). Never upload them as-is. Convert them to high-quality JPEG (95% quality) and then to WebP via toolloopai.com. The final size will be under 1MB with stunning quality.
Q5: Is there a completely free tool for photo conversion?
A: Cloudconvert.com offers limited free conversions (up to 25 per day). Toolloopai.com offers a free trial for the first few images, followed by affordable paid plans for unlimited conversions. Investing in a good tool is an investment in the visibility of your travel brand.
Conclusion: Your Photo is Your Promise – Don’t Break It
Every travel photo you share is a promise to the traveler. A promise that the place is as beautiful as it looks, that the experience is worth it, and that you, as a travel content creator, care about the details. When you optimize your photos, you’re not just speeding up load times – you’re building trust. And trust in the world of travel equals bookings, equals loyal followers, equals a brand people return to.
Don’t let heavy, slow-loading photos steal the joy of your journey. Visit toolloopai.com now and try converting one image. You’ll be amazed at the difference. Then, go back to the rest of your photos. Your next trip deserves to be displayed the way you saw it with your own eyes: fast, clear, unforgettable.
About the Author:
R Hallou | SEO & Photo Optimization Expert, Writer at toolloopai.com. The site specializes in AI-powered image generation and optimization for websites, serving over 15,000 travelers and tourism marketers around the world.
www.toolloopai.com
One Comment